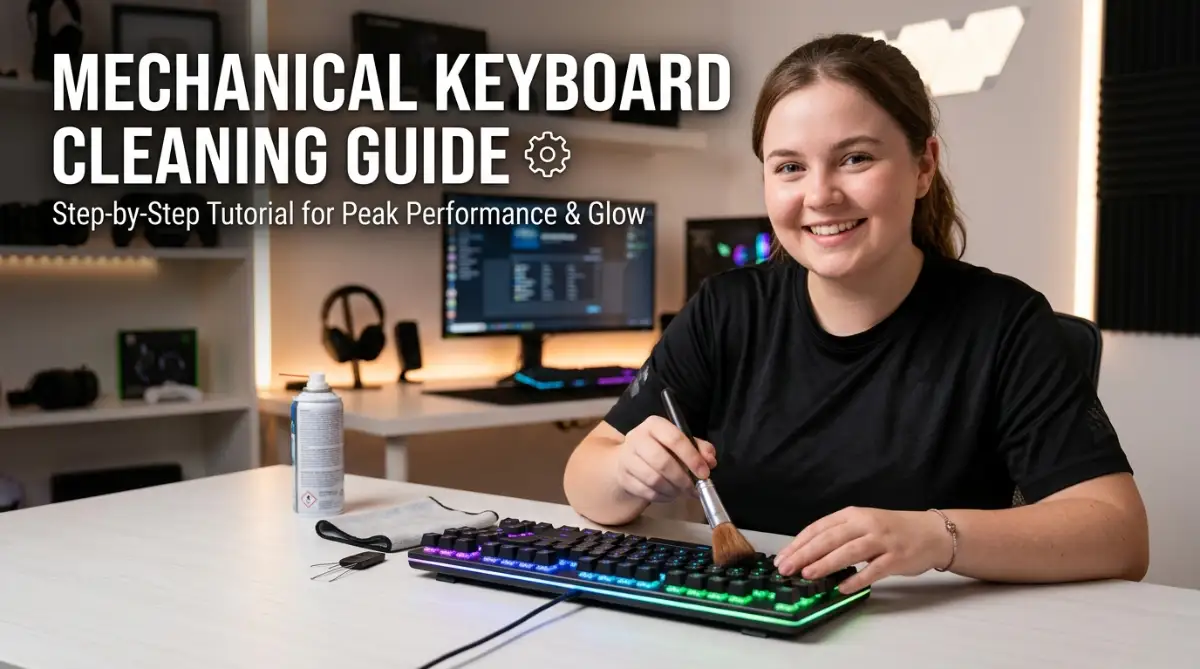
The Hidden Nightmare Beneath Your Keycaps
We all love the satisfying click and clack of a brand-new mechanical keyboard. It feels amazing when you first take it out of the box and place it on your desk.
However, over time, that perfectly smooth typing experience slowly starts to fade away. Your keys begin to feel heavy, sticky, or oddly unresponsive during your most intense gaming moments.
Imagine being in the final circle of a competitive match, and your spacebar simply refuses to register your jump. That simple hardware failure can completely ruin your mood and waste hours of hard work.
The sad truth is that most of us eat, drink, and snack right over our expensive gaming peripherals. We unknowingly drop tiny breadcrumbs, spill drops of energy drinks, and shed dead skin cells directly into the keyboard frame.
Many gamers simply do not know how to fix this issue safely. They search online and often find terrible, damaging advice.
Here are the reasons why bad information leaves people frustrated:
- Using the wrong tools: People often try to pop off keys with butter knives or flathead screwdrivers. This easily scratches the expensive plastic and can permanently snap the fragile stems underneath.
- Applying harsh chemicals: Many users grab standard household glass cleaners or bleach wipes. These aggressive chemicals easily strip away the custom paint and protective UV coating on premium keys.
- Ignoring hidden moisture: Some people wipe their electronics with overly wet rags. This hidden moisture drips down into the main circuit board, causing silent electrical shorts that slowly kill the device.
Dealing with a dirty, unresponsive keyboard does much more than just ruin your gaming scores. It silently chips away at your daily mental peace and confidence.
Here is how a neglected setup directly impacts your daily life:
- Constant frustration: Every time a key gets stuck or double-types a letter, it breaks your natural flow and focus.
- Embarrassment: If a friend or coworker sits at your desk, the visible layer of grime and trapped hair can feel extremely embarrassing.
- Financial anxiety: Mechanical gaming setups are very expensive investments. Watching an expensive piece of hardware slowly break down creates unnecessary worry about replacement costs.
You deserve a desk environment that feels fresh, inspiring, and completely reliable. Maintaining your gear is a basic part of a healthy digital life.
Just as you might rely on top free AI tools that save hours of work to optimize your daily workflow, learning a fast and effective cleaning routine protects your expensive hardware. It allows you to stay focused entirely on your tasks or games.
For a deeper understanding of how these mechanical parts actually function under stress, you can read more about mechanical keyboard switch durability to see why keeping them free of dust is so important. Similarly, tech experts always recommend safe practices for cleaning electronic peripherals to avoid permanent circuit damage.
your Blueprint to a Flawless Gaming Setup
Now that we understand the real damage caused by dirt and grime, it is time to take action. You do not need to be a hardware engineer to get this right.
I am going to walk you through an incredibly easy, science-backed process. If you follow these steps exactly, your board will look and feel like it just came out of the factory box.
Let us jump into the practical, step-by-step methods you can apply right now.
Phase 1: The Safe Disconnect and Documentation
The absolute most important rule of electronics care is to start with zero power. You should never attempt to scrub, wipe, or disassemble anything while it is still plugged into your computer.
Unplug the USB cable completely from the back of your PC tower or laptop. If your model is entirely wireless, flip the physical power switch to the off position and remove the internal batteries just to be completely safe.
Taking a Reference Photo
Before you remove a single piece of plastic, grab your smartphone and take a very clear overhead picture of your entire layout. I cannot stress enough how helpful this simple step is.
When you are staring at a pile of 104 loose plastic squares an hour from now, you will quickly forget exactly where the "Page Down" or "Insert" keys belong. Having a clear photo saves you from randomly guessing and checking your work later.
Treating your premium electronics with care feels amazing. Sometimes, gamers go all out to build their dream streaming rooms. If you ever consider massively upgrading your whole desk environment, you might look into how to borrow money without collateral to fund top-tier acoustic panels and custom lighting setups. But for now, simple maintenance costs almost nothing.
Phase 2: Gentle and Professional Keycap Removal
Now we need to expose the mechanical switches hidden underneath. To do this safely, you must use a proper wire keycap puller.
Most high-end gaming brands actually include a small plastic or wire puller right inside the original box. If you lost yours, you can easily buy a wire puller online for just a few dollars.
The Right Way to Pull
Slide the metal wires completely down and over the opposite corners of a single key. Gently twist the tool just a tiny bit so the wires grab the bottom edges securely.
Pull straight up with a very slow, even, and gentle force. The plastic should pop off with a satisfying little click. Never pull at a harsh angle, as you could accidentally bend the cross-shaped stem of the actual switch underneath.
When you reach the larger keys, like the Spacebar, Enter, or Shift, you need to be extra careful. These larger pieces use hidden metal wires underneath called stabilizers. Pull these large parts up very slowly and unhook them from their metal stabilizer wires with care.
Phase 3: The Deep Cleansing Bath
Now that you have a big pile of loose plastic keys, it is time to give them a proper spa treatment. Do not try to wipe them one by one with a cloth, as that takes way too much time.
Get a clean, medium-sized kitchen bowl and fill it with warm water. Never use boiling hot water, as extreme heat will instantly warp and melt the thin plastic, ruining your entire set.
Add just two small drops of regular liquid dish soap into the warm water and stir it around. Gently drop all of your loose keys directly into the soapy bath.
Let them sit and soak completely undisturbed for about 30 to 45 minutes. The gentle soap will naturally break down the sticky finger oils, dried sweat, and energy drink residue without damaging the painted letters.
Phase 4: Brushing Away the Base Grime
While your plastic pieces are enjoying their warm bath, turn your attention to the naked, exposed main board sitting on your desk. This is usually where the worst of the horror hides.
You will likely see a terrible mix of pet hair, random crumbs, and thick dust trapped between the mechanical switches. Turn the whole board upside down over a trash can and give it a few firm, gentle taps on the back.
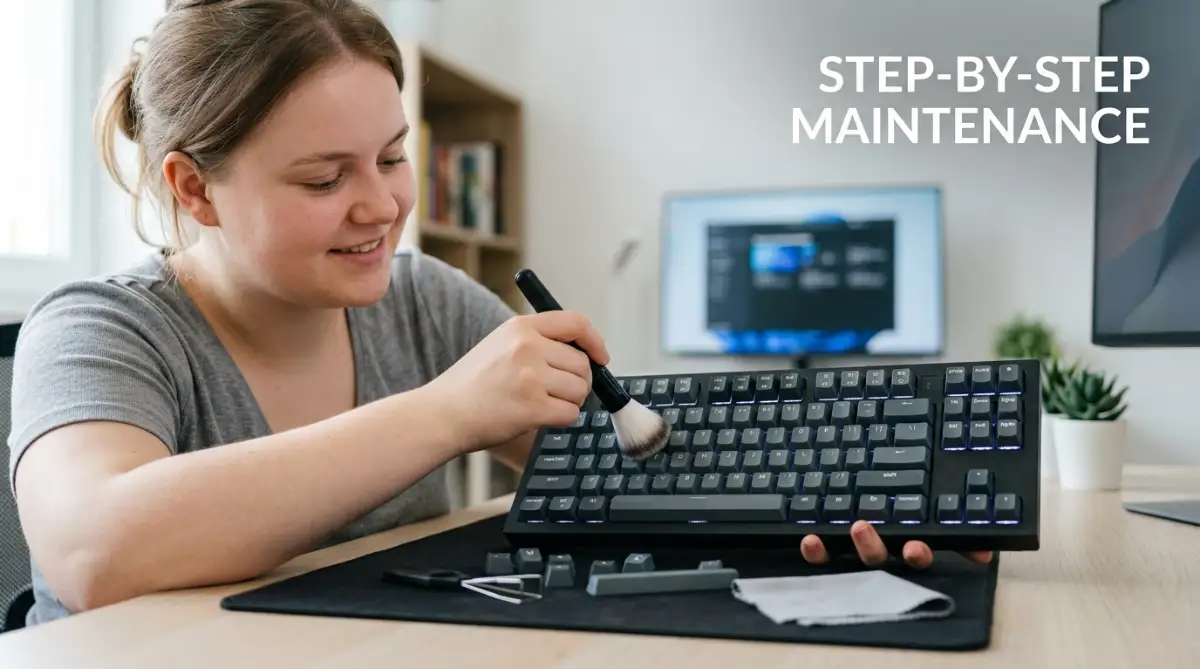
This simple upside-down tapping will knock loose the biggest chunks of heavy debris. Next, grab a completely clean, dry, soft-bristled paintbrush or an unused makeup brush.
Hold the board at a tilted angle and gently sweep the soft brush between the rows of switches. Sweeping pushes the stubborn, sticky dust out from the tight corners and pushes it right off the bottom edge.
If you have highly compressed air in a can, you can use it now. Spray the air in short, quick bursts while keeping the can perfectly upright. Never shake the can or turn it upside down, as it will spray freezing liquid onto your sensitive circuits.
Pro-Level Maintenance Secrets for Gamers
Welcome to the advanced tier of hardware care. You have already completed the basic cleaning, but we want your setup to perform better than ever.
In this section, I am going to share the exact secrets that professional esports players and keyboard enthusiasts use to keep their gear running flawlessly.
These extra steps require a little bit of patience, but the final results are absolutely amazing. When your switches glide smoothly without any friction, your typing speed naturally improves.
Let us explore these advanced, pro-level maintenance strategies.
The Power of Isopropyl Alcohol
Even after a good dry brushing, you might notice some dark, sticky spots clinging to the metal plate between your switches. This is usually dried syrup from soda or stubborn skin oils.
To safely remove these tough stains, you need high-percent isopropyl alcohol (preferably 90% or higher). Alcohol is incredibly effective because it cuts through heavy grease instantly and then evaporates into thin air within seconds.
Take a simple cotton swab and dip it lightly into the alcohol. You do not want it dripping wet, just damp. Gently rub the cotton swab around the sides of the switches and over any sticky spots on the metal base plate.
Never pour liquid directly onto the board. By using a slightly damp cotton swab, you ensure that no moisture accidentally leaks inside the switch housing.
Building a disciplined routine around your hardware care brings peace of mind. Taking smart steps to protect your investments feels similar to knowing how to secure VIP access bank loans without pledges to manage your finances smoothly. Both require a little bit of expert knowledge to master.
Drying and Reassembly Protocol
Let us go back to your kitchen bowl. Your keycaps have been soaking, and the warm soapy water has done its job.
Drain the dirty water into the sink and rinse the plastic pieces under clean, cold running water. You want to make sure every single trace of slippery soap is washed away.
Now comes a very serious step: drying. Lay down a clean, dry microfiber towel on your table. Spread all the keys out evenly, making sure they sit face up.
You must let them air dry completely for at least 12 to 24 hours. Even if they look dry on the outside, a tiny, invisible drop of water could still be trapped underneath the plastic stem.
If you put a wet key back onto your board and turn the power on, that hidden drop of water will slide into the circuitry and destroy the whole device. Always practice patience and wait a full day.
Once you are 100% sure everything is completely dry, pull up the photo you took on your phone earlier. Simply press each key back down onto its correct switch until you feel a firm, satisfying click.

The Biggest Keyboard Cleaning Disasters to Avoid
Even with the best intentions, people often accidentally destroy their expensive gaming gear. A tiny mistake during the cleaning process can result in a completely dead peripheral.
I want to make sure you stay completely safe. Here is a clear list of the most common mistakes people make and why you must avoid them at all costs.
Mistake 1: Using a Hot Hairdryer to Speed Up Drying
Many people get impatient waiting for their plastic parts to air dry. They grab a bathroom hairdryer, turn it on high heat, and blast the wet plastic. The intense heat instantly warps the delicate plastic stems. Once the plastic changes shape, those keys will never fit onto your switches again, and your set is completely ruined.
Mistake 2: Throwing Keycaps into the Dishwasher
It sounds like a clever shortcut, but it is a massive disaster. A modern kitchen dishwasher uses boiling water and highly abrasive, scratchy detergents. The rough soap and extreme heat will scrub away all the painted letters and warp the structural integrity of the plastic pieces.
Mistake 3: Spraying Cleaners Directly onto the Board
Never point a spray bottle at your electronics. When you spray liquid directly, the tiny water droplets immediately seep down past the plastic and pool onto the sensitive green circuit board. Always spray your cleaning liquid onto your microfiber cloth first, and then gently wipe the surface.
Mistake 4: Pulling Keys with Bare Fingers
When you grab a square key with your thumb and index finger and yank upward, you are not pulling evenly. Your fingers naturally pull at a slight angle. This uneven force puts massive pressure on the tiny cross-shaped stem inside the switch, often snapping it clean off. Always use the proper wire tool.
Mistake 5: Using Paper Towels on Glossy Surfaces
Paper towels might feel soft to your hands, but they are actually made of tiny, rough wood fibers. If you scrub a glossy, shiny plastic keyboard frame with a dry paper towel, it will leave thousands of microscopic scratches behind. Always stick to a completely clean, soft microfiber cloth for wiping electronics.
Bring Your Setup Back to Life Today
You now have the complete, step-by-step knowledge required to completely transform your messy gaming setup. You know exactly what tools to use, what hidden dangers to avoid, and how to execute a professional deep clean.
There is absolutely no reason to suffer through sticky, unresponsive keys any longer. A clean desk environment completely changes how you feel when you sit down to work or play.
Think about the incredible satisfaction of pressing down on a perfectly smooth, fresh-feeling key. Your fingers will glide across the board effortlessly, and your typing speed will instantly feel more natural.
Take action this weekend. Grab a simple soft brush, a bowl of warm water, and your trusty wire puller.
Give your expensive hardware the respect and care it actually deserves. Once you see the glowing, spotless results sitting beautifully on your desk, you will wonder why you waited so long to do this. Happy gaming, and enjoy your brand-new typing experience!