Why Does Your Computer Freeze When You Click Play?
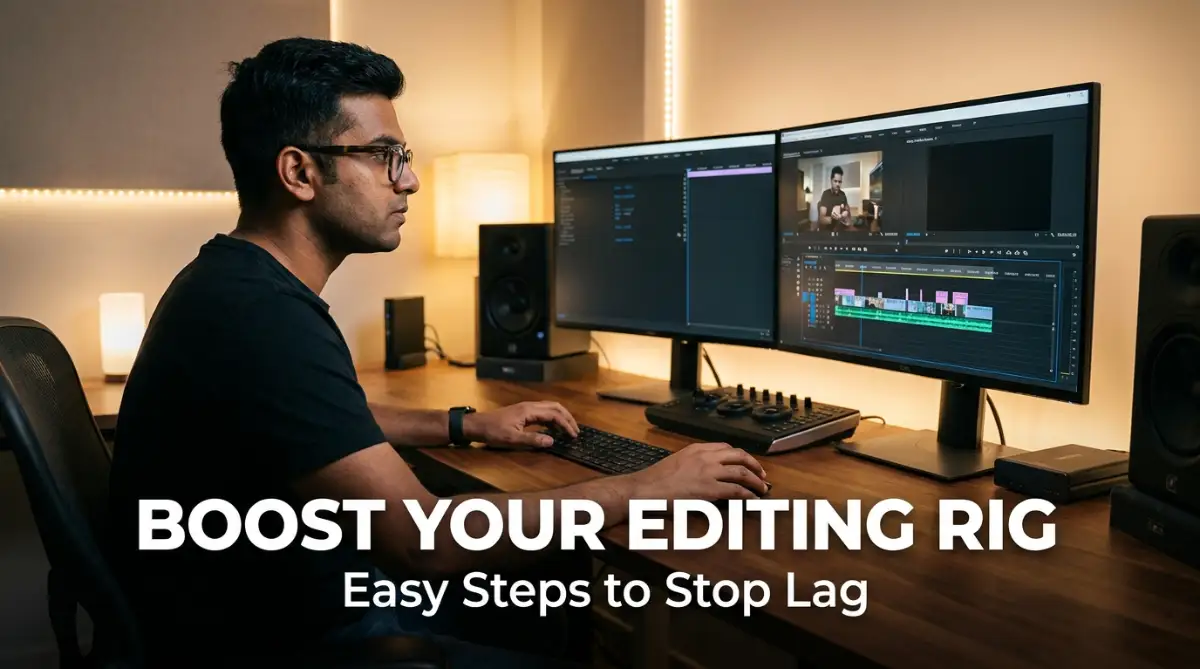
I still remember the exact moment my heart sank when my computer completely froze at 2 AM, instantly destroying hours of my unsaved video editing work. I was desperately trying to finish a tight client project, but my timeline was stuttering so badly that even a simple split-cut felt like a frustrating chore. It made me realize that fighting with my own machine was not only draining my creative energy, but it was actively costing me money.
You are sitting at your desk, the room is completely quiet, and you have a deadline in just two hours.
You make one small cut on your video timeline, and suddenly, the mouse cursor turns into a spinning wheel of death.
Your screen dims, and your heavy editing software crashes without saving your hard work.
The heat rising from your computer case feels like a physical punch to your gut.
You feel your blood pressure rise as you restart the machine, hoping your auto-save file is not corrupted.
This is a silent nightmare that content creators face every single day.
When your system lags, it does not just waste your precious time.
It steals your creative focus and breaks your working state.
You end up fighting your machine instead of focusing on telling your story.
Thankfully, you do not need to buy an incredibly expensive computer to fix this.
By making a few smart adjustments, you can make your current machine run much faster.
Let us explore how to take back control of your workstation.
Understanding the Hard Demands of Video Creation
Video editing is one of the most demanding tasks you can ask a computer to do.
Unlike browsing the web, editing requires your computer to process massive files in real-time.
Your processor, graphics card, memory, and storage must all work together without a single bottleneck.
If any of these parts cannot keep up, your entire system slows down to a crawl.
For example, reading raw 4K files puts an immense load on your storage drive.
At the same time, applying color grades and transitions forces your graphics card to work at its absolute limit.
Knowing how your hardware handles these tasks is the first step toward fixing the lag.
Once you know where the system struggles, you can apply targeted fixes.
This saves you from wasting time on tweaks that do not actually improve speed.
If you are still confused about how to set up these lightweight files, watch this quick video tutorial below to see the proxy magic in action before you continue reading the rest of our optimization guide!
Tweaking Your Software Memory Settings
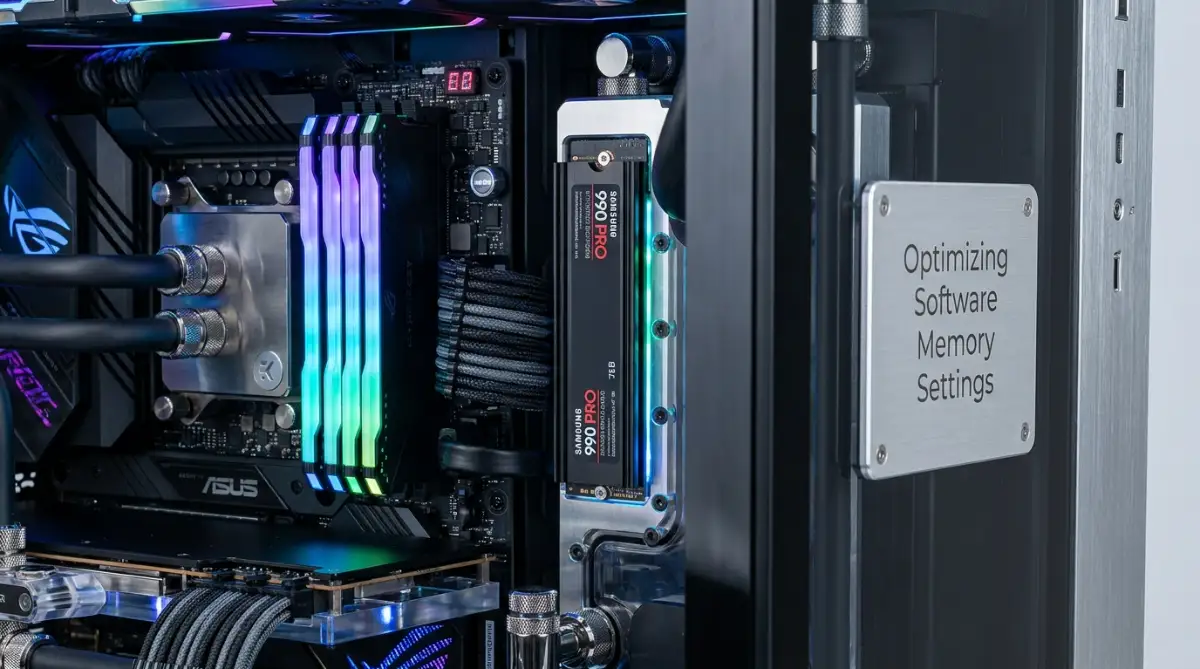
Most editing applications are designed to consume as much system memory as they can get.
Programs like Premiere Pro or DaVinci Resolve will gladly hog all your RAM, leaving nothing for your operating system.
When your operating system runs out of memory, your entire computer begins to freeze.
To fix this, you need to manually limit how much RAM your editing software can use.
Go into the preferences menu of your program and look for the memory tab.
You will find an option that lets you reserve a specific amount of RAM for other applications.
As a general rule, you should leave at least one-quarter of your total RAM free for the background system.
If you have 16 gigabytes of RAM, set your editing software to use a maximum of 12 gigabytes.
This simple limit keeps your mouse, keyboard, and background tools running smoothly.
Just like you would study a step-by-step guide to cleaning up mistakes on your credit report to make sure your financial profile is clean, you must check your software settings to ensure no hidden resource hogs are slowing down your progress.
Creating and Using Proxies for Smooth Timelines
If you edit high-resolution footage, you must start using proxies today.
A proxy is a low-resolution copy of your original video file that you use during the editing stage.
Your computer can play these lightweight files easily without dropping a single frame.
When you are ready to export your final video, the software automatically switches back to the original high-resolution files.
This means you get the benefit of fast, lag-free editing without losing any final video quality.
Most modern editing programs have built-in tools that make proxy creation incredibly easy.
To create proxies, simply select your imported footage, right-click, and choose the proxy creation option.
Choose a lightweight format like H.264 or ProRes Proxy in a low resolution like 1280 by 720.
Once the files are generated, toggle the proxy button on your program monitor to start editing with ease.
Think of editing with proxies like sketching a draft on scrap paper before painting on a valuable canvas.
It saves your computer from doing heavy work until the very last moment.
You will be amazed at how fast your timeline scrubs once you make this a habit.
Managing Your Storage Drives and Cache Files
My biggest realization came when I discovered I had been hoarding over 200 gigabytes of hidden media cache on my main system drive without even knowing it, which was secretly suffocating my PC. Now, my golden rule is to manually clear my cache before starting any new project and to never apply heavy color grades until the very end. This simple shift in my workflow completely eliminated the timeline micro-stutters that used to drive me crazy
Your editing software constantly writes temporary files to your drive as you work.
These files are known as media cache, and they help the software render previews faster.
However, over time, these cache folders can grow to hundreds of gigabytes, filling up your drive.
When your main storage drive is nearly full, its write and read speeds drop significantly.
This slowdown directly impacts how fast your editing software can access your video assets.
You should aim to keep at least twenty percent of your main storage drive completely empty.
To clean this up, head into your software settings and look for the media cache option.
Click the delete button to clear out all your old, unused cache files.
You can safely do this because the software will simply recreate the files if it ever needs them again.
Additionally, you should never store your project files on your system drive if you can avoid it.
Instead, buy a fast external solid-state drive to hold your active video assets.
This keeps your system drive dedicated to running the software, which prevents data bottlenecks.
If you are planning to upgrade your entire computer setup but find yourself short on funds, you might think about looking into low-interest funding options.
For instance, learning why having a co-signer is your best move for a low-interest personal loan can help you acquire the budget you need to buy a high-performance editing computer.
Lowering Your Playback Resolution Settings
Many editors keep their playback resolution set to full quality without realizing it.
Viewing your timeline at full quality requires your computer to decode every single pixel on the fly.
For a 4K timeline, this is an incredibly heavy task that usually results in dropped frames.
You can easily lower your playback resolution to one-half or one-quarter quality.
This option is usually located in a small dropdown menu directly under your main video preview window.
Lowering this setting does not affect the quality of your final exported video.
It only reduces the preview quality while you are actively editing and playing back the timeline.
Your eyes will barely notice the difference on a standard computer monitor.
However, your processor will get an immediate break, allowing you to edit without stuttering.
Pro-Level System Tweaks to Maintain High-Speed Editing
To get the absolute best performance out of your system, you must look beyond basic software settings.
The way your operating system handles hardware resources plays a massive role in editing speed.
By tweaking a few deep system settings, you can unlock hidden power from your processor and graphics card.
First, you should enable high-performance power mode on your operating system.
By default, computers are set to a balanced power plan to save electricity and reduce heat.
However, this mode limits how fast your processor can spin up when you start a heavy render.
On Windows, open your control panel, navigate to power options, and select the high-performance plan.
If you edit on a laptop, make sure you are always plugged into a wall outlet while working.
Laptops automatically limit their hardware speed when running on battery power to preserve charge.
Next, you need to make sure your graphics card drivers are fully optimized for creative work.
If you use an Nvidia graphics card, open the GeForce Experience application on your desktop.
Switch your driver preference from the standard game-ready driver to the studio driver.
Studio drivers are specifically tested and optimized for creative applications like video editors and 3D tools.
They provide much better stability and reduce the chances of sudden application crashes.
According to professional testing from industry leaders like Puget Systems, having the right driver setup can dramatically improve rendering stability.
Furthermore, you should close all background applications before you launch your editing suite.
Web browsers like Google Chrome are notorious for eating up valuable memory and processor power.
Even small background utilities can cause micro-stutters during timeline playback.
Open your system task manager and look at the list of running processes.
End any tasks that you do not actively need for your current project.
Keeping your system environment clean gives your editing software undivided attention from your hardware.

Common Mistakes That Quietly Kill Your System Speed
Many editors struggle with slow performance simply because of a few bad habits.
These mistakes are easy to make, but they can quickly bring even the most powerful PC to its knees.
Identifying and correcting these issues will instantly make your editing experience much smoother.
The biggest mistake is editing your videos directly from a slow, spinning external hard drive.
Traditional hard drives use spinning platters that read data at very slow speeds.
While they are fine for archiving old files, they are far too slow for active video timelines.
If your software has to wait for a slow drive to read a clip, your timeline will freeze.
Always move your active footage to an internal solid-state drive before you start editing.
If you must use an external drive, ensure it is a high-speed SSD connected via a fast USB-C port.
Another common error is applying heavy visual effects too early in your editing workflow.
Effects like noise reduction, warp stabilization, and complex color grades require immense processing power.
If you apply these effects first, your computer will struggle to play back even simple cuts later.
Always save your heavy effects, transitions, and detailed color work for the very end of your project.
Focus on building your rough cut and organizing your story using clean, unedited clips first.
Once your structure is locked in, you can apply your heavy visual effects right before you render.
Managing background applications and system loads is a lot like managing your personal debts.
To avoid a slow system, you must learn to balance your resources, much like learning how to consolidate your payments by following a smart guide to student loan consolidation and avoiding risks.
Finally, do not ignore the physical temperature of your computer.
When your processor and graphics card get too hot, they automatically slow themselves down to prevent damage.
This thermal throttling can cause your system to slow down drastically after just thirty minutes of editing.
Make sure your computer vents are free of dust and have plenty of breathing room.
If you edit on a laptop, lift the back of the machine slightly off your desk to improve airflow.
Keeping your components cool ensures they can run at maximum speed for hours.
Your Day-One Action Plan for Smooth Editing
Optimizing your computer does not have to be an overwhelming or expensive project.
By taking action on a few simple steps today, you can transform your sluggish system into a fast workstation.
Use this simple, step-by-step checklist to get started before your next big edit:
- Clean Your Cache: Go into your editing preferences and delete old cache files to free up disk space.
- Set Memory Limits: Reserve at least four to eight gigabytes of RAM for your operating system.
- Lower Preview Resolution: Change your preview playback quality from full to one-half or one-quarter.
- Create Your First Proxy: Try generating low-resolution proxies for your next high-definition project.
- Install Studio Drivers: Update your graphics card to use stable creator drivers instead of gaming drivers.
You do not need to settle for constant crashes and frustrating timeline lag.
With these adjustments, your computer will have the breathing room it needs to let your creativity shine.
Turn on your workstation, apply these quick tweaks, and enjoy a much smoother editing experience today.
From my own experience, I can promise you that implementing these simple tweaks will make editing feel like magic again, bringing back the absolute joy of storytelling. Don't wait for another frustrating software crash to ruin your day; take just ten minutes right now to optimize your settings and watch your creative productivity skyrocket!
Disclaimer
The system optimization tips provided in this article are for informational purposes only. Modifying system settings and registry values can alter your computer's behavior, and users should proceed at their own risk. For official technical specifications and hardware support, always refer to the official