Why Bad Audio Ruins Great Content and Crushes Your Confidence
I still remember crying out of frustration after recording my very first YouTube video because the background hiss was so loud. I had spent a whole week writing the script, but my cheap microphone picked up every single dog bark from my neighborhood. It made me feel like giving up on content creation completely before I even started.
We have all been there. You spend hours writing the perfect script and setting up your camera. You finally record your video, feeling proud of the amazing value you are sharing with the world.
But then, you sit down to edit. You put on your headphones, press play, and your heart sinks immediately.
Instead of a crisp, clear voice, you hear a massive room echo. You hear the ceiling fan spinning, dogs barking down the street, and a weird static hiss in the background. Your amazing content suddenly feels completely ruined just because of bad audio.
This terrible feeling of wasted time is incredibly common for new creators. Good audio is actually more important than good video quality. Studies and guidelines from the Audio Engineering Society show that listeners will quickly forgive a blurry video. However, they will click away in seconds if the audio hurts their ears.
Many people try to fix this by searching for quick audio solutions online. Sadly, they often find the wrong advice. Here is why so many creators struggle with this exact problem:
- Buying expensive gear for untreated rooms: Beginners often think buying a $300 microphone will fix everything. They do not realize that an expensive microphone will just pick up the background noise and room echo even more clearly.
- Following complex editing tutorials: They watch complicated tutorials made for professional sound engineers. When they try to copy those steps, their voice ends up sounding like a robot stuck in a tin can.
- Trusting the wrong software: Many old software programs claim to remove noise but actually destroy the natural tone of the human voice. This leaves the creator feeling frustrated and completely lost.
This constant struggle with poor audio does serious damage to a creator's mental peace. It goes far beyond just a technical issue. It deeply affects how you show up in the world.
- It destroys your creative momentum: When you know the editing process is going to be a nightmare, you start putting off recording. You begin to dread the very thing you used to love doing.
- It creates deep imposter syndrome: You listen to your favorite podcasters and think, "I will never sound that professional." This makes you feel like an amateur, even if your actual knowledge is expert-level.
- It holds back your natural speaking voice: When you are worried about the microphone picking up noise, you speak differently. You might whisper or talk too stiffly, completely losing your natural personality and charm.
You do not have to live with this frustration anymore. You can absolutely achieve professional sound right from your bedroom.
How to Achieve Studio-Quality Sound Without Spending a Dime
You do not need a professional recording studio to sound amazing. We live in an incredible time where artificial intelligence can do the heavy lifting for us.
However, AI is not pure magic. You need to know how to use it correctly. Let us look at the exact steps you need to take to completely transform your voiceovers today.
Step 1: Capture the Cleanest Possible Raw Recording
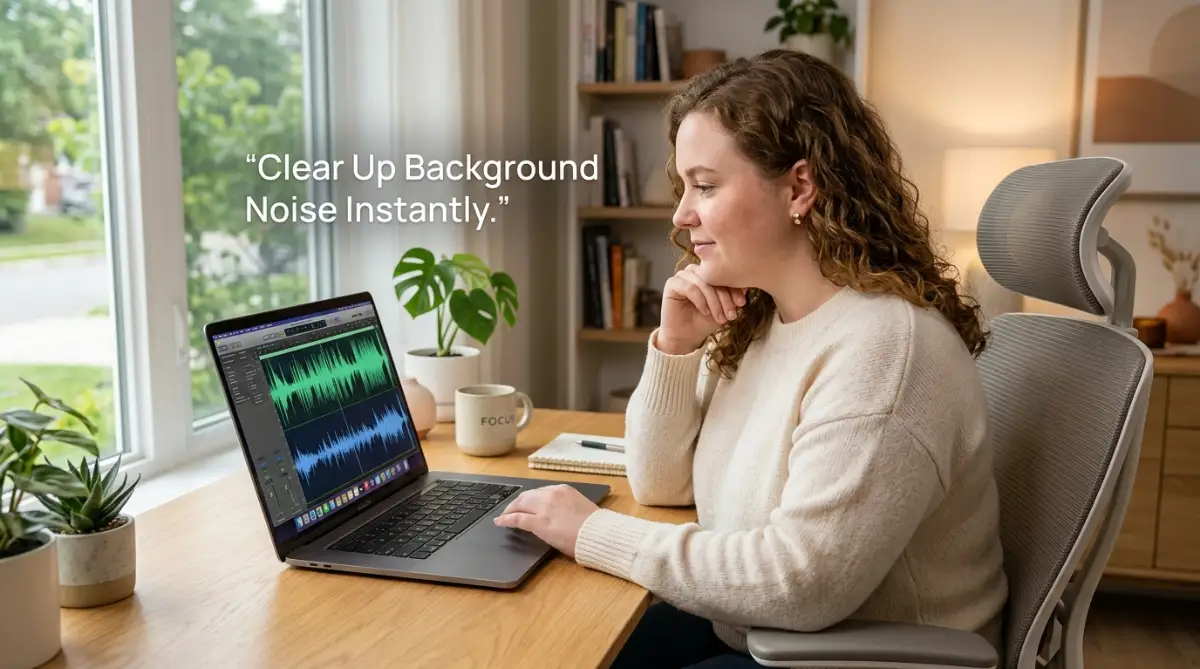
The biggest secret to getting great results from a free AI audio enhancer is feeding it decent audio. If you give the AI absolute garbage, it will give you slightly better garbage back. You must give it a solid foundation to work with.
First, you need to soften your recording environment. Hard surfaces like bare walls, glass windows, and hardwood floors are your biggest enemies. They cause your voice to bounce around the room, creating an ugly echo.
You can easily fix this without spending money. Simply record in a room with lots of soft furniture. A bedroom with a thick mattress, heavy curtains, and a fluffy rug is excellent. Some of the most famous podcasters even record sitting inside their clothes closets! The hanging clothes act perfectly as natural sound absorbers.
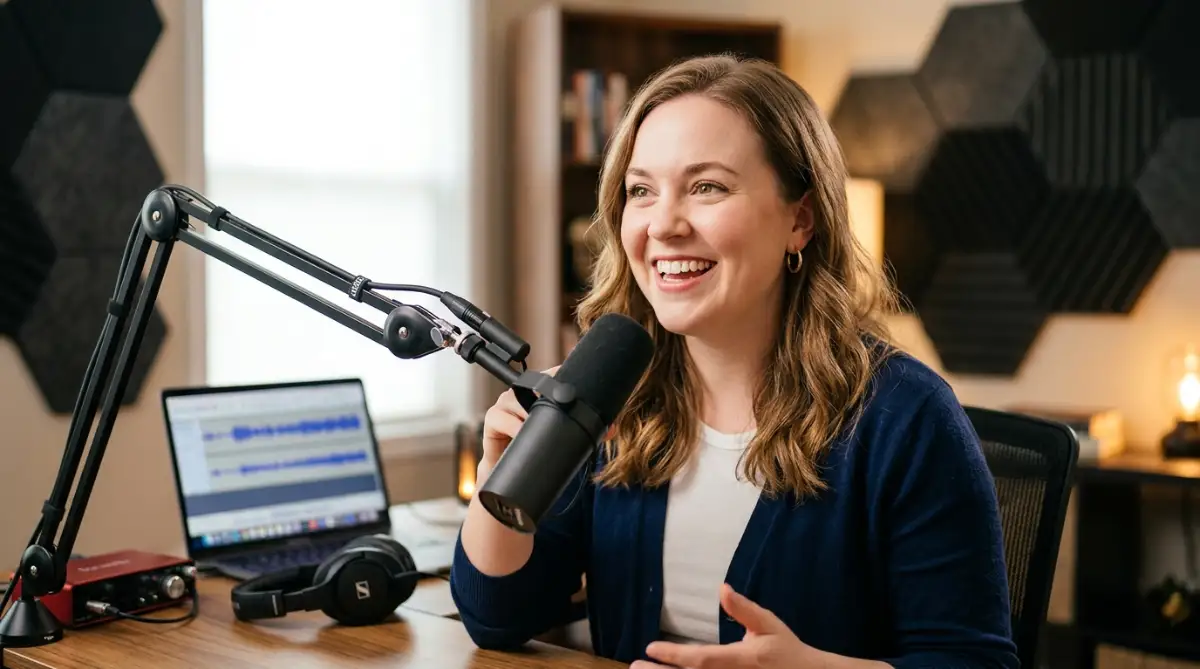
Next, you must focus on your microphone technique. Whether you are using a smartphone or a USB microphone, placement is everything. You should keep the microphone about six to eight inches away from your mouth.
If you get too close, your breath will hit the microphone hard, creating popping sounds called plosives. If you get too far away, the microphone will pick up too much of the room. Always speak across the microphone, slightly off to the side, rather than speaking directly into the center of it.
If you want to see exactly how I transform terrible bedroom audio into a professional studio sound in just three clicks, watch this quick video tutorial below before reading the rest of the steps!
Step 2: Choose the Right Free AI Audio Enhancer
Once you have a decent raw recording, it is time to let the machines do the hard work. There are several amazing free tools available online right now. You need to understand how they work so you can pick the right one for your specific needs.
These modern AI tools do not just apply a basic filter like older software did. Instead, they are trained on millions of hours of human speech. When you upload your file, the AI listens to the track and recognizes what a human voice sounds like.
It then completely isolates your voice and deletes everything else. The technology is so smart that it can even remove the sound of a baby crying in the next room while keeping your voice perfectly intact.
Many creators think they need huge investments to start creating content. They often research how to borrow money without collateral just to buy high-end studio equipment. You really do not need to do this. Free AI tools can save you thousands of dollars instantly.
When picking a tool, look for one that operates entirely in the cloud. This means your computer does not need to be powerful. You simply upload your audio file to their website, wait a few minutes, and download the polished version. Adobe Podcast AI is a very popular free option that heavily cleans up room echo.
Step 3: Learn the Art of Perfect Audio Exporting
Before you upload your file to any AI tool, you must make sure it is in the correct format. This is a step where many beginners fail. They record an amazing track but ruin it during the saving process.
Always try to save and export your raw audio as a WAV file. WAV is an uncompressed audio format. This means it holds onto every single tiny detail of your voice. When you give the AI a rich, detailed WAV file, it has plenty of data to work with.
If you use a low-quality MP3 format, you are already throwing away half of the audio data to save space. If you feed a low-quality MP3 into an AI enhancer, the final result will often sound very thin and robotic. Treat your raw audio like a digital diamond. Keep it in the highest quality possible.
You must also check your audio levels before saving. Look at the little green and red bars dancing on your screen while you talk. If those bars turn bright red and hit the very top, your audio is "clipping."
Clipping causes permanent digital distortion. No AI tool in the world can fix severely clipped audio. Always make sure your loudest words only reach about three-quarters of the way up the volume meter. It is always better to record a little bit quietly than to record too loud.
Using smart software is just one way to improve your workflow. You can easily find top free AI tools that save hours of work to handle everything from writing your video scripts to editing your final project. Combining these tools makes content creation incredibly easy and completely stress-free.
Step 4: Test Different AI Intensity Levels
Many free AI audio enhancers now come with a slider. This slider lets you control how strong the AI effect is. You might be tempted to turn it all the way up to 100% to remove every single speck of noise.
This is usually a bad idea. When you push the AI to its absolute maximum limit, it starts removing parts of your actual voice. It might cut off the very end of your words or make you sound like you have a bad cold.
My biggest mistake when I first used AI tools was cranking the noise reduction all the way up to 100 percent just to hide my noisy street. I quickly realized this made me sound like a weird robot, so I started keeping it around 75 percent instead. Leaving just a tiny bit of natural room breath makes the recording sound so much more real and friendly.
The secret to professional sound is finding the perfect balance. Try setting the intensity slider to around 70% or 80%. This will successfully remove the annoying background noise like fans and air conditioners.
However, keeping the slider slightly lower allows the natural breath and texture of your real voice to shine through. You want your listeners to feel like you are sitting right next to them in a quiet room, not broadcasting from a sterile spaceship.
Step 5: Trust Your Ears Over The Visuals
When you start editing audio, you will spend a lot of time looking at sound waves on a screen. It is very easy to get obsessed with making the visual waves look perfect. You might start zooming in to delete every tiny little spike on the screen.
You must remember that your audience will listen to your content, not look at the sound waves. Always close your eyes and simply listen to the playback. Trust what your ears are telling you.
Does the voice sound warm and inviting? Can you understand every single word clearly? If the answer is yes, then the audio is good to go. Do not overthink it.
The goal of using a free AI audio enhancer is to save time. If you spend three hours tweaking the settings after the AI has done its job, you are completely defeating the purpose. Let the AI do the heavy lifting, give it a quick listen, and publish your content.
You really do not need to take out massive loans or seek out vip access bank loans without pledges to afford good sound. By mastering these simple steps, you can create world-class audio for absolutely free.
Now that you know the foundation, let us look at some advanced techniques to take your voiceovers to the next level.
Pro-Level Secrets to Maintain Perfect Audio Every Time
Getting a good result once is great, but getting consistent results every single time is what makes you a true professional. Once you master the basics of free AI audio enhancers, you can start applying advanced strategies. These simple tricks will make your voice sound incredibly rich and deeply engaging.
You need to develop an audio workflow that becomes second nature to you. Just like brushing your teeth, setting up your audio should be a habit you do not even have to think about.
The Power of the Double-Pass Technique
Sometimes, you might record an interview outside or in a very noisy coffee shop. The background noise is so loud that a single pass through an AI tool does not completely fix it. The audio might still sound slightly muddy or messy.
Instead of throwing the recording away, try the double-pass technique. First, run the audio through the free AI enhancer at a very low intensity, maybe around 40%. Download this new file.
Then, take that slightly cleaned file and upload it to the AI tool a second time. Run it again at 40% intensity. This gentle, two-step process is much better than running it once at 100%. It carefully peels away the noise layer by layer without damaging the rich tones of your human voice.
Adding Mild Background Music for Perfection
Even the most advanced AI tools might leave tiny artifacts in your audio. Artifacts are weird, digital bubbling sounds that happen when the AI gets confused by a strange noise. If you listen closely in complete silence, you might hear them.
There is a brilliant psychological trick to hide these minor flaws. All you need to do is add a very quiet background music track beneath your voiceover. The music acts like a warm blanket that covers up any tiny digital imperfections.
Choose a calm, instrumental track with no singing. Lower the volume of the music so it is barely noticeable. Your listeners will focus entirely on your words, and their brains will completely ignore any minor audio artifacts. This trick instantly makes your production value feel incredibly expensive.
Creating a Permanent Sound Profile
If you record in the same room every day, you should create a standard sound profile for yourself. You do not want to guess your settings every single time you sit down to work. Consistency is the key to building a loyal audience.
Take one afternoon to test your setup thoroughly. Record yourself reading the exact same paragraph while sitting in different spots in your room. Run all of them through your favorite free AI audio enhancer.
Listen back and figure out which spot sounds the absolute best. Once you find that perfect spot, mark it. Always place your microphone at the exact same distance and use the exact same AI intensity settings. Your audience will love the fact that you sound perfectly consistent in every single video.
The Biggest Audio Mistakes That Will Ruin Your Recording
Even with powerful AI at your fingertips, human error can easily ruin a project. Many creators make completely avoidable mistakes because they rush the process. If you want to protect your hard work, you must actively avoid these common pitfalls.
1. Over-Processing the File (The Robotic Voice)
This is the single most common mistake beginners make. They want their audio to sound unnaturally silent in the background. They crank up the AI noise reduction to the absolute maximum level.
When you do this, the AI starts aggressively cutting into your vocal frequencies. Your voice will suddenly sound like you are talking through a cheap walkie-talkie. It becomes thin, metallic, and completely robotic. Always prioritize natural human warmth over absolute dead silence.
2. Ignoring Hard Plosives Before Using AI
Plosives are those harsh "P" and "B" sounds that send a massive blast of air into the microphone. These blasts create a loud, thumping bass sound in your recording. AI tools are built to remove background noise, not heavy microphone impacts.
If you feed an audio file full of loud plosives into an AI tool, it will not know what to do. The AI might actually make the thumping sound worse. You must prevent this by buying a cheap pop filter for your microphone. It is just a small mesh screen that catches the air before it hits the electronics.
3. Recording in Completely Empty Rooms
Some people think a completely empty room is quiet and therefore great for recording. This is a massive mistake. An empty room with bare walls acts exactly like a cave. Your voice will bounce back and forth dozens of times a second.
The AI will try to clean up this heavy echo, but it will struggle greatly. The final result will sound very heavily processed and unnatural. Always bring soft items into the room. Even throwing a thick blanket over a chair near your microphone can make a massive difference.
4. Forgetting to Normalize Audio Levels
If you speak very quietly for the first half of your video and then yell excitedly in the second half, the AI will get very confused. AI tools work best when your voice is at a relatively steady volume throughout the whole track.
Before using the AI, you should "normalize" your audio in a basic editing program. This simply means making the quiet parts slightly louder and the loud parts slightly quieter. Providing an even, balanced track gives the AI the perfect canvas to work on.
5. Depending Completely on Software Fixes
AI is a powerful assistant, but it cannot fix a terrible performance. If you sound bored, tired, or unenthusiastic, no software in the world can make you sound engaging. You must bring high energy and passion to the microphone.
Do not get lazy just because you have good software. Continue to practice your speaking skills. Drink water before you record to avoid dry mouth noises. Sit up straight to open your lungs. The better your natural performance is, the more amazing the AI will make you sound.
Your Next Steps Towards Perfect Voiceovers
You now have a complete, expert-level understanding of how to fix your audio. You understand the science of raw recording and the smart way to use free AI tools. You no longer have to feel stressed, frustrated, or insecure about how you sound online.
By taking just a few extra minutes to set up your room and speaking confidently, you give the software exactly what it needs. You can now avoid the robotic over-processing mistakes that trap so many beginners. You know how to keep the beautiful, human texture in your voice while completely erasing the distracting background noise.
There is absolutely nothing holding you back from creating top-tier content today. You do not need thousands of dollars, and you do not need an audio engineering degree. You just need a quiet corner, your natural voice, and the right smart tools.
I promise you that fixing your audio will instantly make you feel so much more confident about hitting that publish button. You already have amazing things to say, so do not let a little bit of room echo hold your voice back anymore. Grab your microphone today, test out these simple steps, and show the world what you are truly capable of!
Go ahead and test this out right now. Record a quick thirty-second voice memo on your phone. Read a paragraph from your favorite book. Run it through a free AI audio enhancer and listen to the incredible transformation. Prepare to be amazed by your own voice, and get ready to share your best content with the world!